
Create a channel
The channel creation wizard configures a new channel and its underlying input, video, audio, and output settings from the Essentials dashboard.
The wizard walks through the same pattern at every step: a step list on the left tracks your progress, and the form for the current step is on the right. The steps after Input depend on the workflow you choose.
Start the wizard
Section titled “Start the wizard”Select New channel from the dashboard. You can also start a new channel from within an existing channel’s detail view.
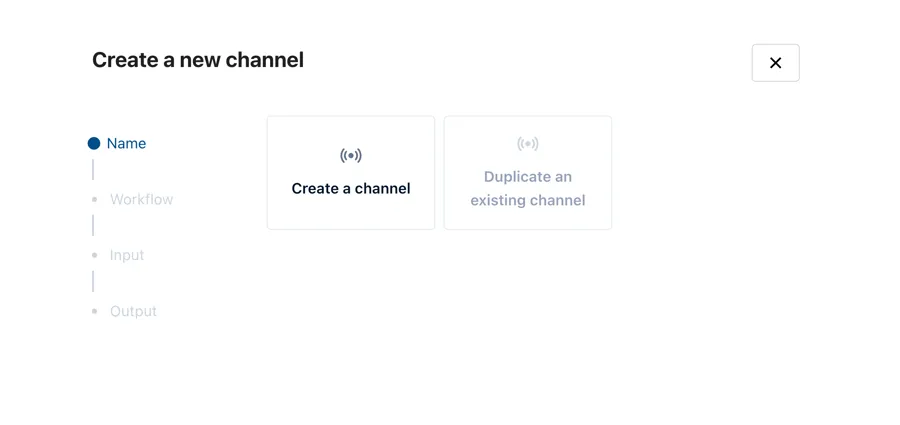
Choose Create a channel to configure a channel from scratch, or Duplicate an existing channel to base it on one that already exists. Enter a name for the channel and select Next.
Choose the workflow
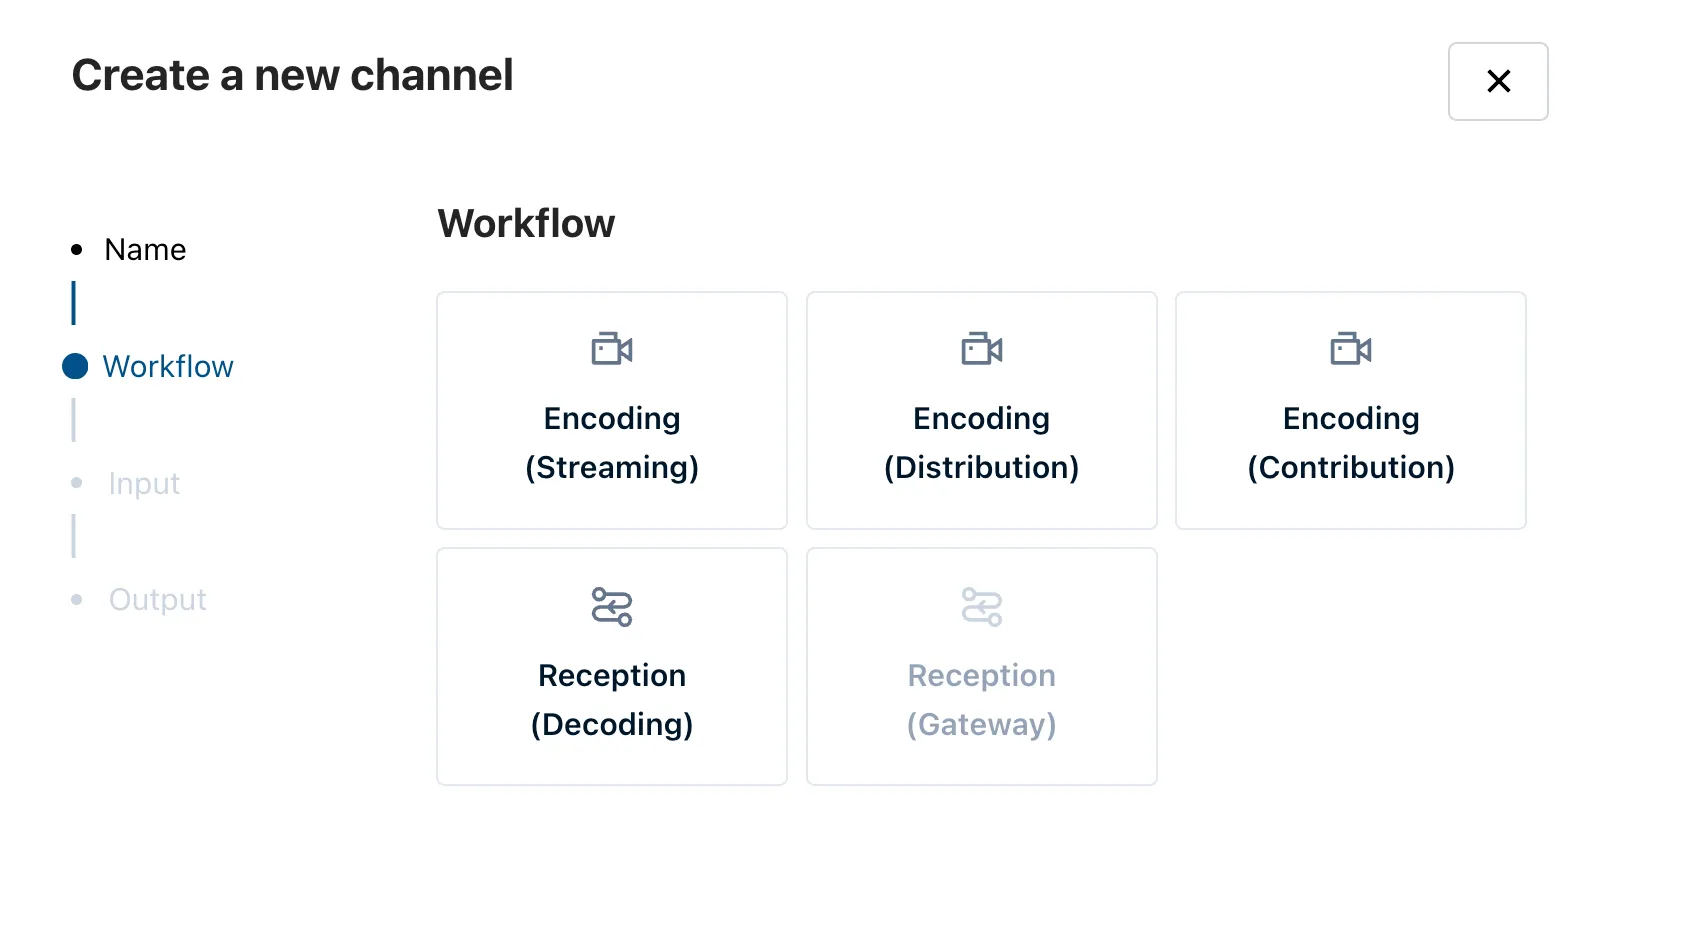
Section titled “Choose the workflow”Select the workflow type for the channel, then select Next. On the device below, Encoding (Streaming), Encoding (Distribution), Encoding (Contribution), and Reception (Decoding) can be selected. Reception (Gateway) appears greyed out, because it is not yet available.
Availability depends on the device and its software version: the three encoding workflows need Beam 1.12.0 or higher, and Reception (Decoding) needs 1.13 or higher. A workflow the device cannot run appears greyed out. See Contribution, Reception, and Headends for the workflows behind each type.
The workflow you choose determines the steps that follow, so the wizard is not the same length for every channel. A Reception (Decoding) channel decodes rather than encodes, so it replaces the encoding steps below with Decrypt, Decoding, and Decoded Output: see Create a reception channel.
Select the input
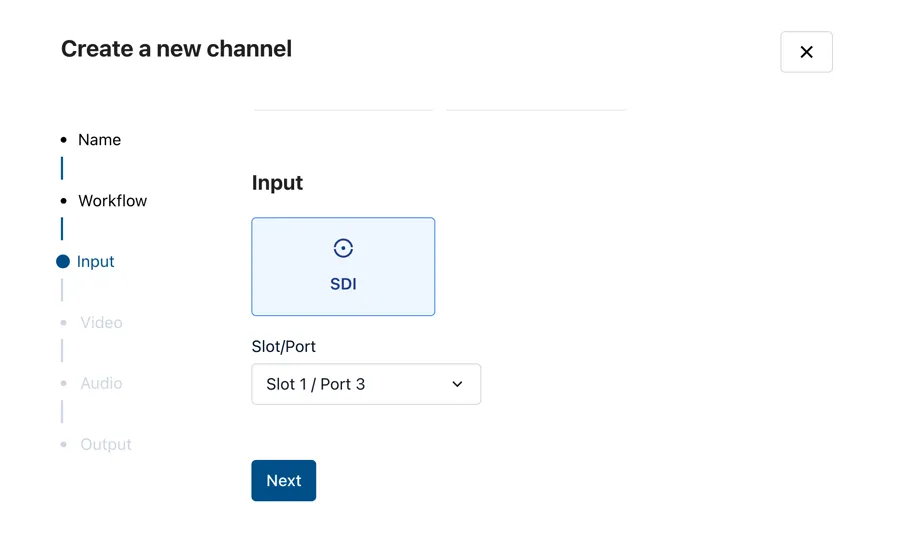
Section titled “Select the input”Choose the input type, for example SDI. If the input has multiple physical connections, choose the Slot/Port from the dropdown list, then select Next.
Configure video or encoding
Section titled “Configure video or encoding”For an Encoding (Streaming) workflow, this next step is to configure our Video settings:
Set the Video Codec, Resolution, Frame rate, and Bitrate for the rendition, then select + Add to add further renditions.
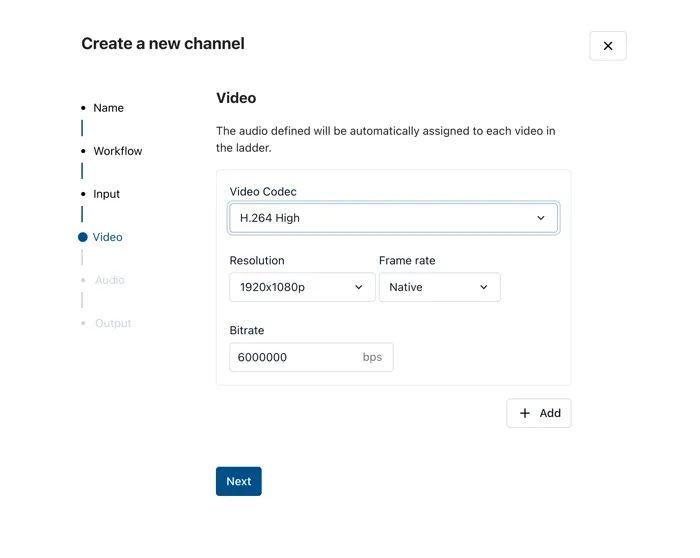
The channel creation wizard shows different options depending on the selected workflow. For example For Encoding (Contribution) and Encoding (Distribution) workflows, this step is called Encoding and configures a single set of video parameters rather than a ladder.
Select Next once the video parameters are set.
Configure audio
Section titled “Configure audio”Set the audio parameters: Audio codec, Audio Group, Mode, and Bitrate. Select the trash icon to remove a track, or + Add to configure an additional one. In a video ladder, the audio you define here is automatically assigned to every rendition.
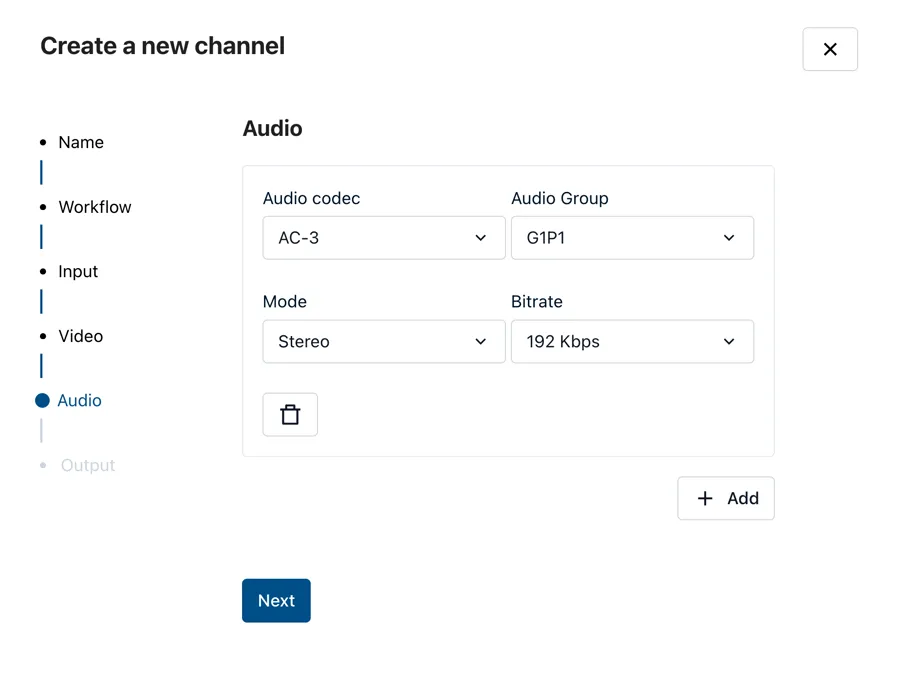
Select Next.
Configure the output
Section titled “Configure the output”For an Encoding (Streaming) workflow, the output step is informational: it produces HLS-TS, HLS-fMP4, and DASH segmentation types, each with its own URL available after you create the channel. There are no fields to fill in here.
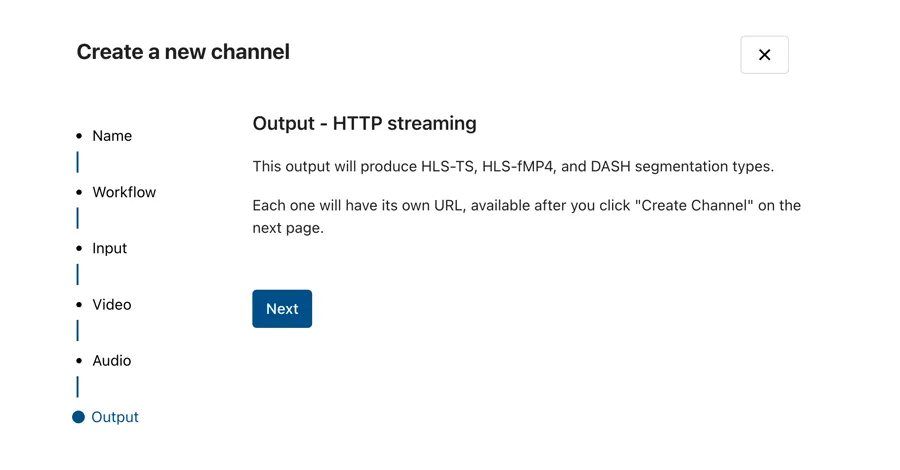
For Encoding (Contribution) and Encoding (Distribution) workflows, choose an output type such as SRT, RF, IP, or ASI, and enter its connection details. For the full set of Reliable Transport configuration options available outside the wizard, see Reliable Transport.
Select Next.
Review and create the channel
Section titled “Review and create the channel”Review the channel summary. It covers the channel name, workflow, and input, one entry per video rendition (or a single encoding entry outside the streaming workflow), the audio configuration, and the output. Select Modify next to a section to change those settings.
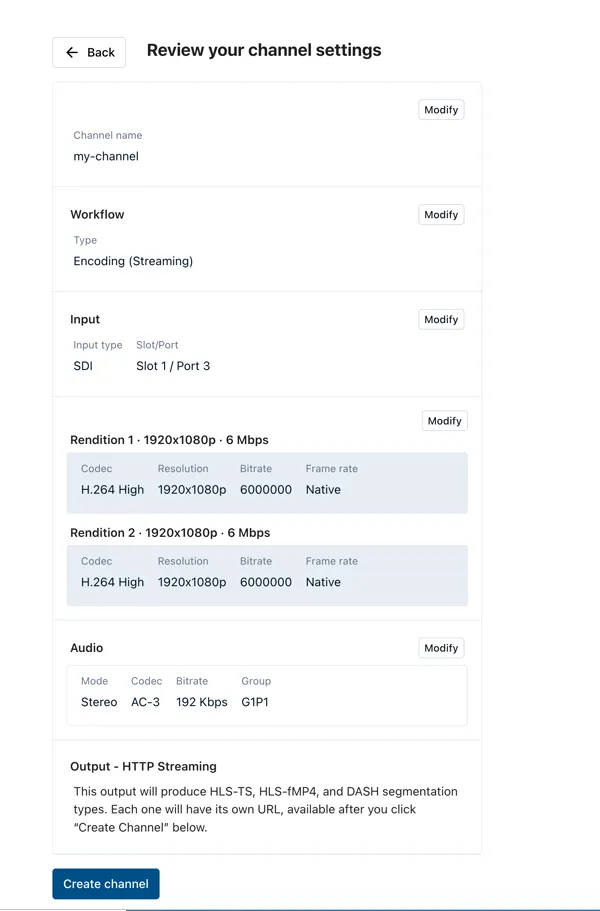
Select Create channel.
Start the channel
Section titled “Start the channel”The new channel opens in its detail view. Select Start to take it on air, then return to the dashboard to see it in the channel card grid.