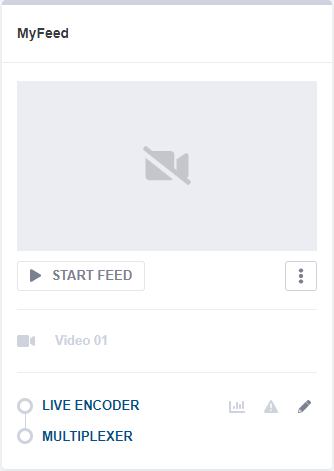
Configure the Live Encoder component
The following sections explain the basic configuration for the Live Encoder component. For advanced configuration, see the following sections of Live Encoder:
To configure the Live Encoder, follow these steps:
-
Click next to the Live Encoder component within the CE1 feed. The Live Encoder settings open.
-
When you get to the General tab, the name is already pre-defined. It will be incremented at each new feed instance so you don't need to change it.
Configure the input
To configure the video, audio and data components, follow these steps:
-
Go to the Input tab.
-
In the General parameters section, select the input type:
- SDI
- or SMPTE ST 2110
SDI input
Before you start: ensure you already set up the SDI card for HD or UHD operation.
To configure an SDI input, follow these steps:
-
From the General parameters section:
- Set the input Type to SDI.
- Select a Connector from the drop-down list.
- You can keep the SDI card number, by default 1 or change it.
-
Go to the Input streams selection section: the input video is already configured but you can add an input audio:
- Go to the Audio ID section.
- Click Add. You can either keep the default parameters or modify them as needed.
- Click Ok to validate.
-
Click Save and continue to save your changes.
SMPTE ST 2110 input
Before you start: ensure you already set up the SMPTE ST 2110 input operation.
To configure an SMPTE ST 2110 input, follow these steps:
-
In the Input > General parameters section, set the input Type to SMPTE ST 2110.
-
Configure the input video stream:
- In the Input streams selection section, go to the Video ID section.
- Click then enter the SDP file location.
- Click Ok to validate.
-
Add and configure the input audio stream:
- In the Input streams selection section, go to the Audio ID section.
- Click Add then enter the SDP file location.
- Click Ok to validate.
-
Click Save and continue to save your changes.
See also
Limitations and Considerations for ST2110 and PTP
Configure SDP files on CE1
Setup the PTP for ST 2110
Configure video, audio and data components
Configure the video component
To configure the video component go to the Video encoding section.
-
Click to check and configure the video parameters.
-
If using QSV encoding, please refer to related section for configuration details. Otherwise, set Hardware Acceleration to Vega or Software then configure the codec parameters accordingly.
-
Select a Vega and a Hardware channel.
Hardware device must be unique for each CE1 channel. Do not use the same hardware device and channel on two different channels.
Configure the audio component
To configure the audio component go to the Audio encoding section.
-
Click Add. A new window is displayed. By default audio codec is set to Pass-through but you can change it.
-
Select the appropriate parameters for the audio encoding.
-
Click Ok to validate.
Save
Click Save and continue to save your changes.
Configure the output
-
Go to the Output tab. A default output has already been created.
-
In the top right corner, click .
-
Scroll to the Common MPEG-2 TS parameters section. You may change some parameters, especially Standard, PCR PID, Program number, Service name, Service provider.
-
Scroll to the Output streams section, click then tick the audio stream.
-
You can change the PIDs if needed.
-
Click Ok to validate.
-
Click Save and continue to save your changes.
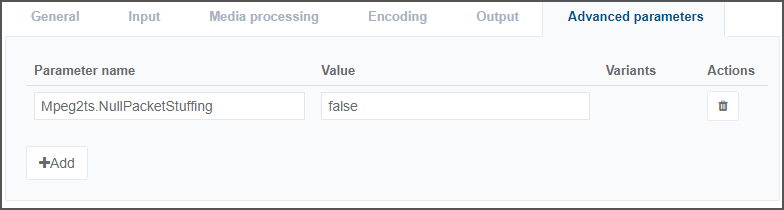
Configure advanced parameters
To ensure that the video is output as a CBR elementary stream, you need to add an advanced parameter:
-
Go to the Advanced parameters tab.
-
Click Add then set Mpeg2ts.NullPacketStuffing to False.
-
Click Save and exit to save and finalize your service configuration.
-
Select the Home menu from the left menu bar to go back to the CE1 Home page.