Manage jobs
Jobs management is centralized per service. You can manage job priorities per service, configurations and view overall job statistics.
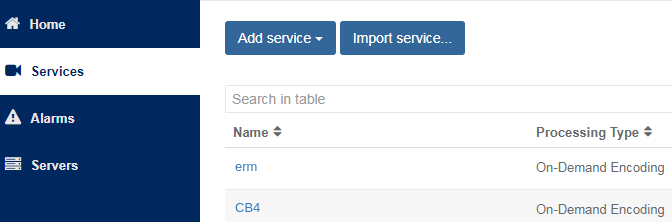
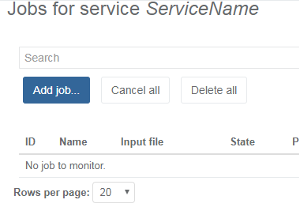
Display jobs for a specific service
You can configure, edit and add jobs for a specific running service.
-
Click the service name from the list of services to display the Jobs page.
- The page that displays when you click on a service may vary depending on the processing type.
- Services display as a hyperlink if there is specific information to display.
-
Select Jobs from the left-side menu panel to display an overview of jobs for all services.
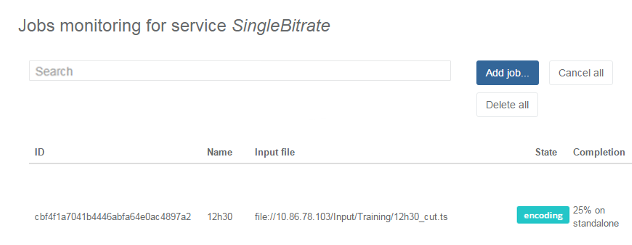
Monitor jobs
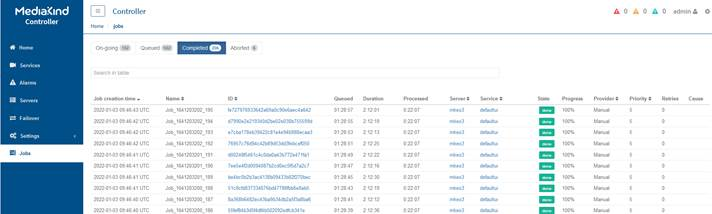
A single Encoding On-Demand service may have multiple jobs. The Jobs menu offers a centralized view of on-going, queued, completed, and aborted jobs (manually stopped or in error).
The cancelled status is for jobs that were stopped manually.
-
Select Jobs in the left side menu panel. The Jobs overview page displays.
-
Use the tabs to display the jobs per category.
-
Click the link in the ID column to display the details for the specific job.
-
Click the link in the Server column to display the information for the server running the job is run.
-
Click the link in the Service column to display the specific service information related to the job.
Create a job
Create one or multiple jobs on a running service.
-
Click Add job to create a job.
-
Configure the job and click Apply.
Important:
- Input files require specific mount point settings.
- The publishing point requires specific mount point settings.
- You can also use http and https.
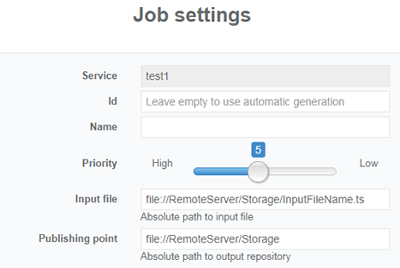
Syntax uses
file://for remote NAS (requires mount point):
Syntax uses
file:///for local or absolute path to mounted storage: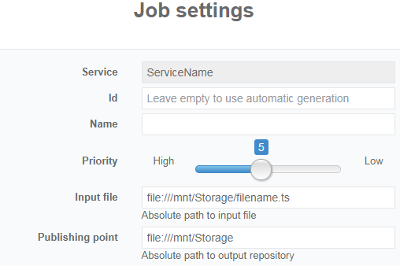
If the service is currently running, then the Job launches automatically. The .ts and/or .mp4 files are generated in the defined output folder. Jobs set with the same priority are launched in order, per job creation date.
- Click to stop a job before completion.
- Click to view details (monitoring).
-
Configure:
- Custom settings
- Advanced settings
- PCM audio mapping
Delete jobs
You can delete jobs one by one, or delete all jobs configured for the service.
- Click the service name from the list of services to display the Jobs page.
- The page that displays when you click on a service may vary depending on the processing type.
- Services only display as a link if there is specific service information do display.
-
Click to delete a single job, or Delete all to delete all jobs for the service.
-
Delete a single job:

-
Delete all jobs for the service:

You are prompted to confirm.
-
Stop jobs
You can stop a single job or cancel all to stop all running jobs configured for the service simultaneously.
- Click the service name from the list of services to display the Jobs page.
- The page that displays when you click on a service may vary depending on the processing type.
- Services only display as a link if there is specific service information to display.
-
Click in the Actions column to stop a job.

The job status changes to cancelled.
Cancel all running jobs
Cancelling running jobs stops job immediately, resulting output will not be complete.
- Click the service name from the list of services to display the Jobs page.
- The page that displays when you click on a service may vary depending on the processing type.
- Services only display as a link if there is specific service information to display.
-
Click Cancel all to instantly kill all running jobs.
View job details
- Click the service name from the list of services to display the Jobs page.
- The page that displays when you click on a service may vary depending on the processing type.
- Services only display as a link if there is specific service information to display.
-
Click . Job details display for the specific job.
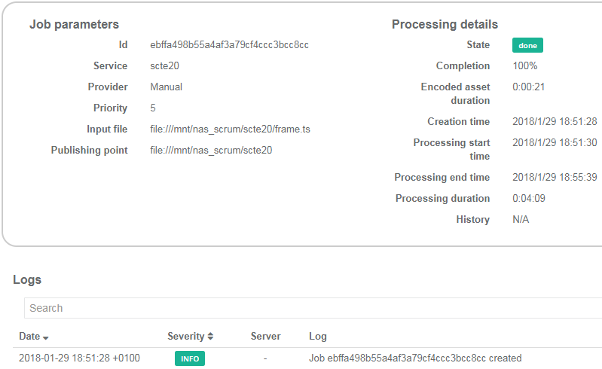
Logs provided by Log manager can help viewing Log Manager details for a specific job can help determine what happened if an error occurs.
Create a job from an existing job (duplicate a job)
- Click the service name from the list of services to display the Jobs page.
- The page that displays when you click on a service may vary depending on the processing type.
- Services only display as a link if there is specific service information to display.
-
Click in the Actions column.
The Job creation options display.
-
Enter or edit values and click Apply.
- Input files require specific mount point settings.
- The publishing point requires specific mount point settings.
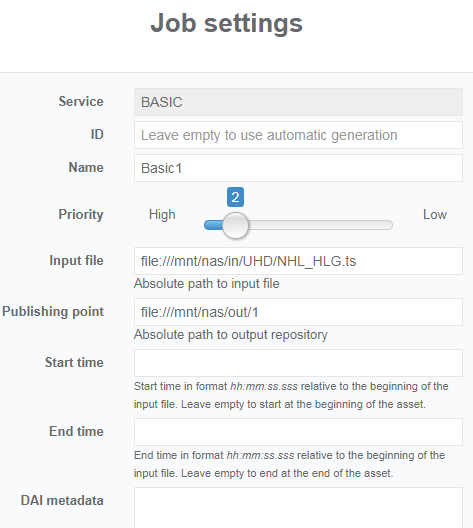
Prioritize jobs
You can prioritize jobs from 1 to 10. Jobs set to 1 have the highest priority. Multiple jobs can have a same level of priority. Jobs set with the same priority are launched in order, per job creation date.
- Click the service name from the list of services to display the Jobs page.
- The page that displays when you click on a service may vary depending on the processing type.
- Services only display as links if there is specific service information to display.
-
Click Add job to create a new job or to edit an existing job in the list.
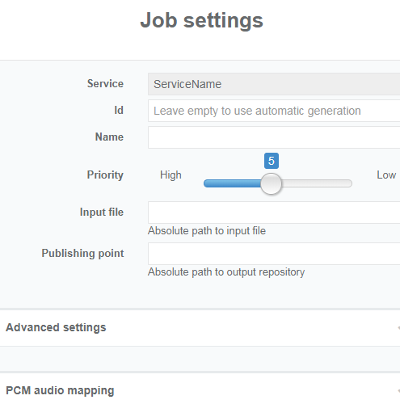
The Job settings display.
-
Set the priority and click Apply.
The job will be processed before jobs with lower priority.
Create a PCM map for audio
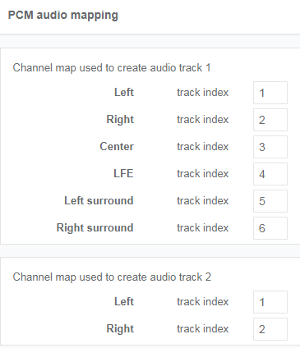
Multi-channel PCM audio is sometimes not declared in input files and presented as independant mono-channel PCM tracks. PCM mapping allows to configure a mapping to re-create a stereo or 5.1 PCM stream from multiple mono-channel PCM tracks.
Your audio is PCM and requires mapping audio files.
-
Click a service to display jobs.
-
Click Add job...
The Job settings display.
Example:
-
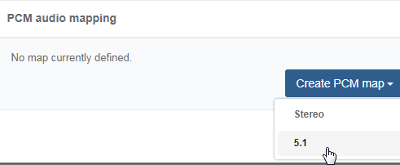
Expand the PCM audio mapping menu, and select Create PCM map.
A drop-down menu displays.
Example:
-
Select the channel context for the audio files: Stereo or 5.1.
A set of audio track displays depending on the selection.
You can create multiple maps, for both stereo and 5.1 channels.
- You can click to delete the map, but only while you are still in the Job settings window.
Once you click Apply, the job is created and cannot be edited. To delete a map after the job is created you must delete the job.